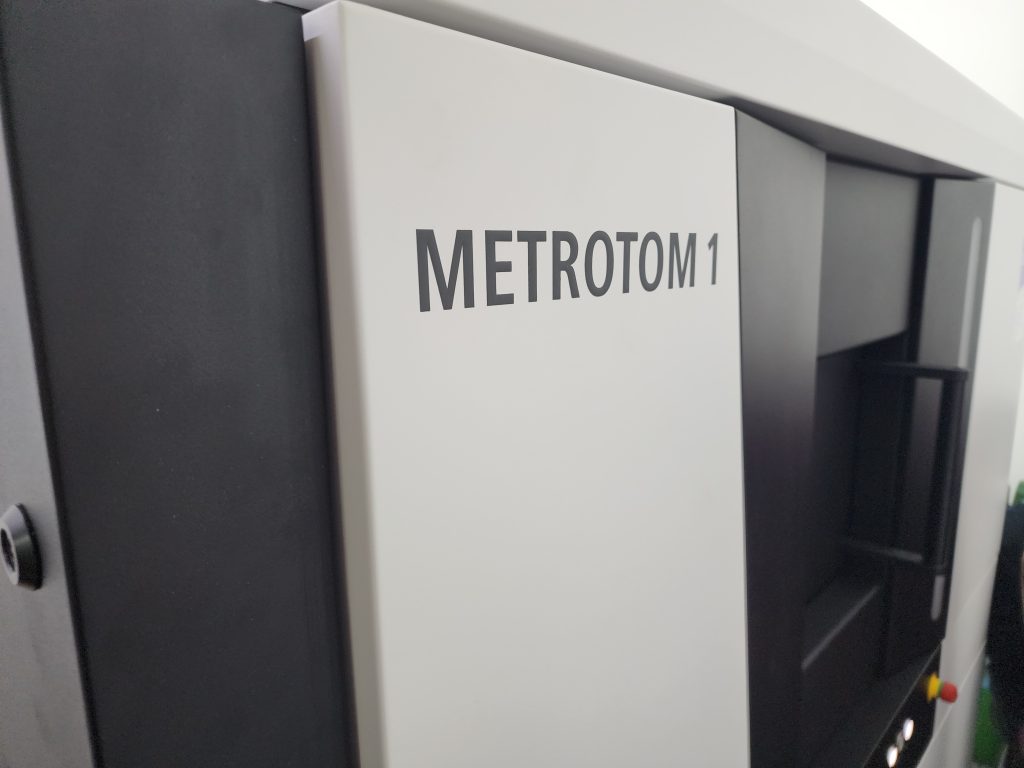
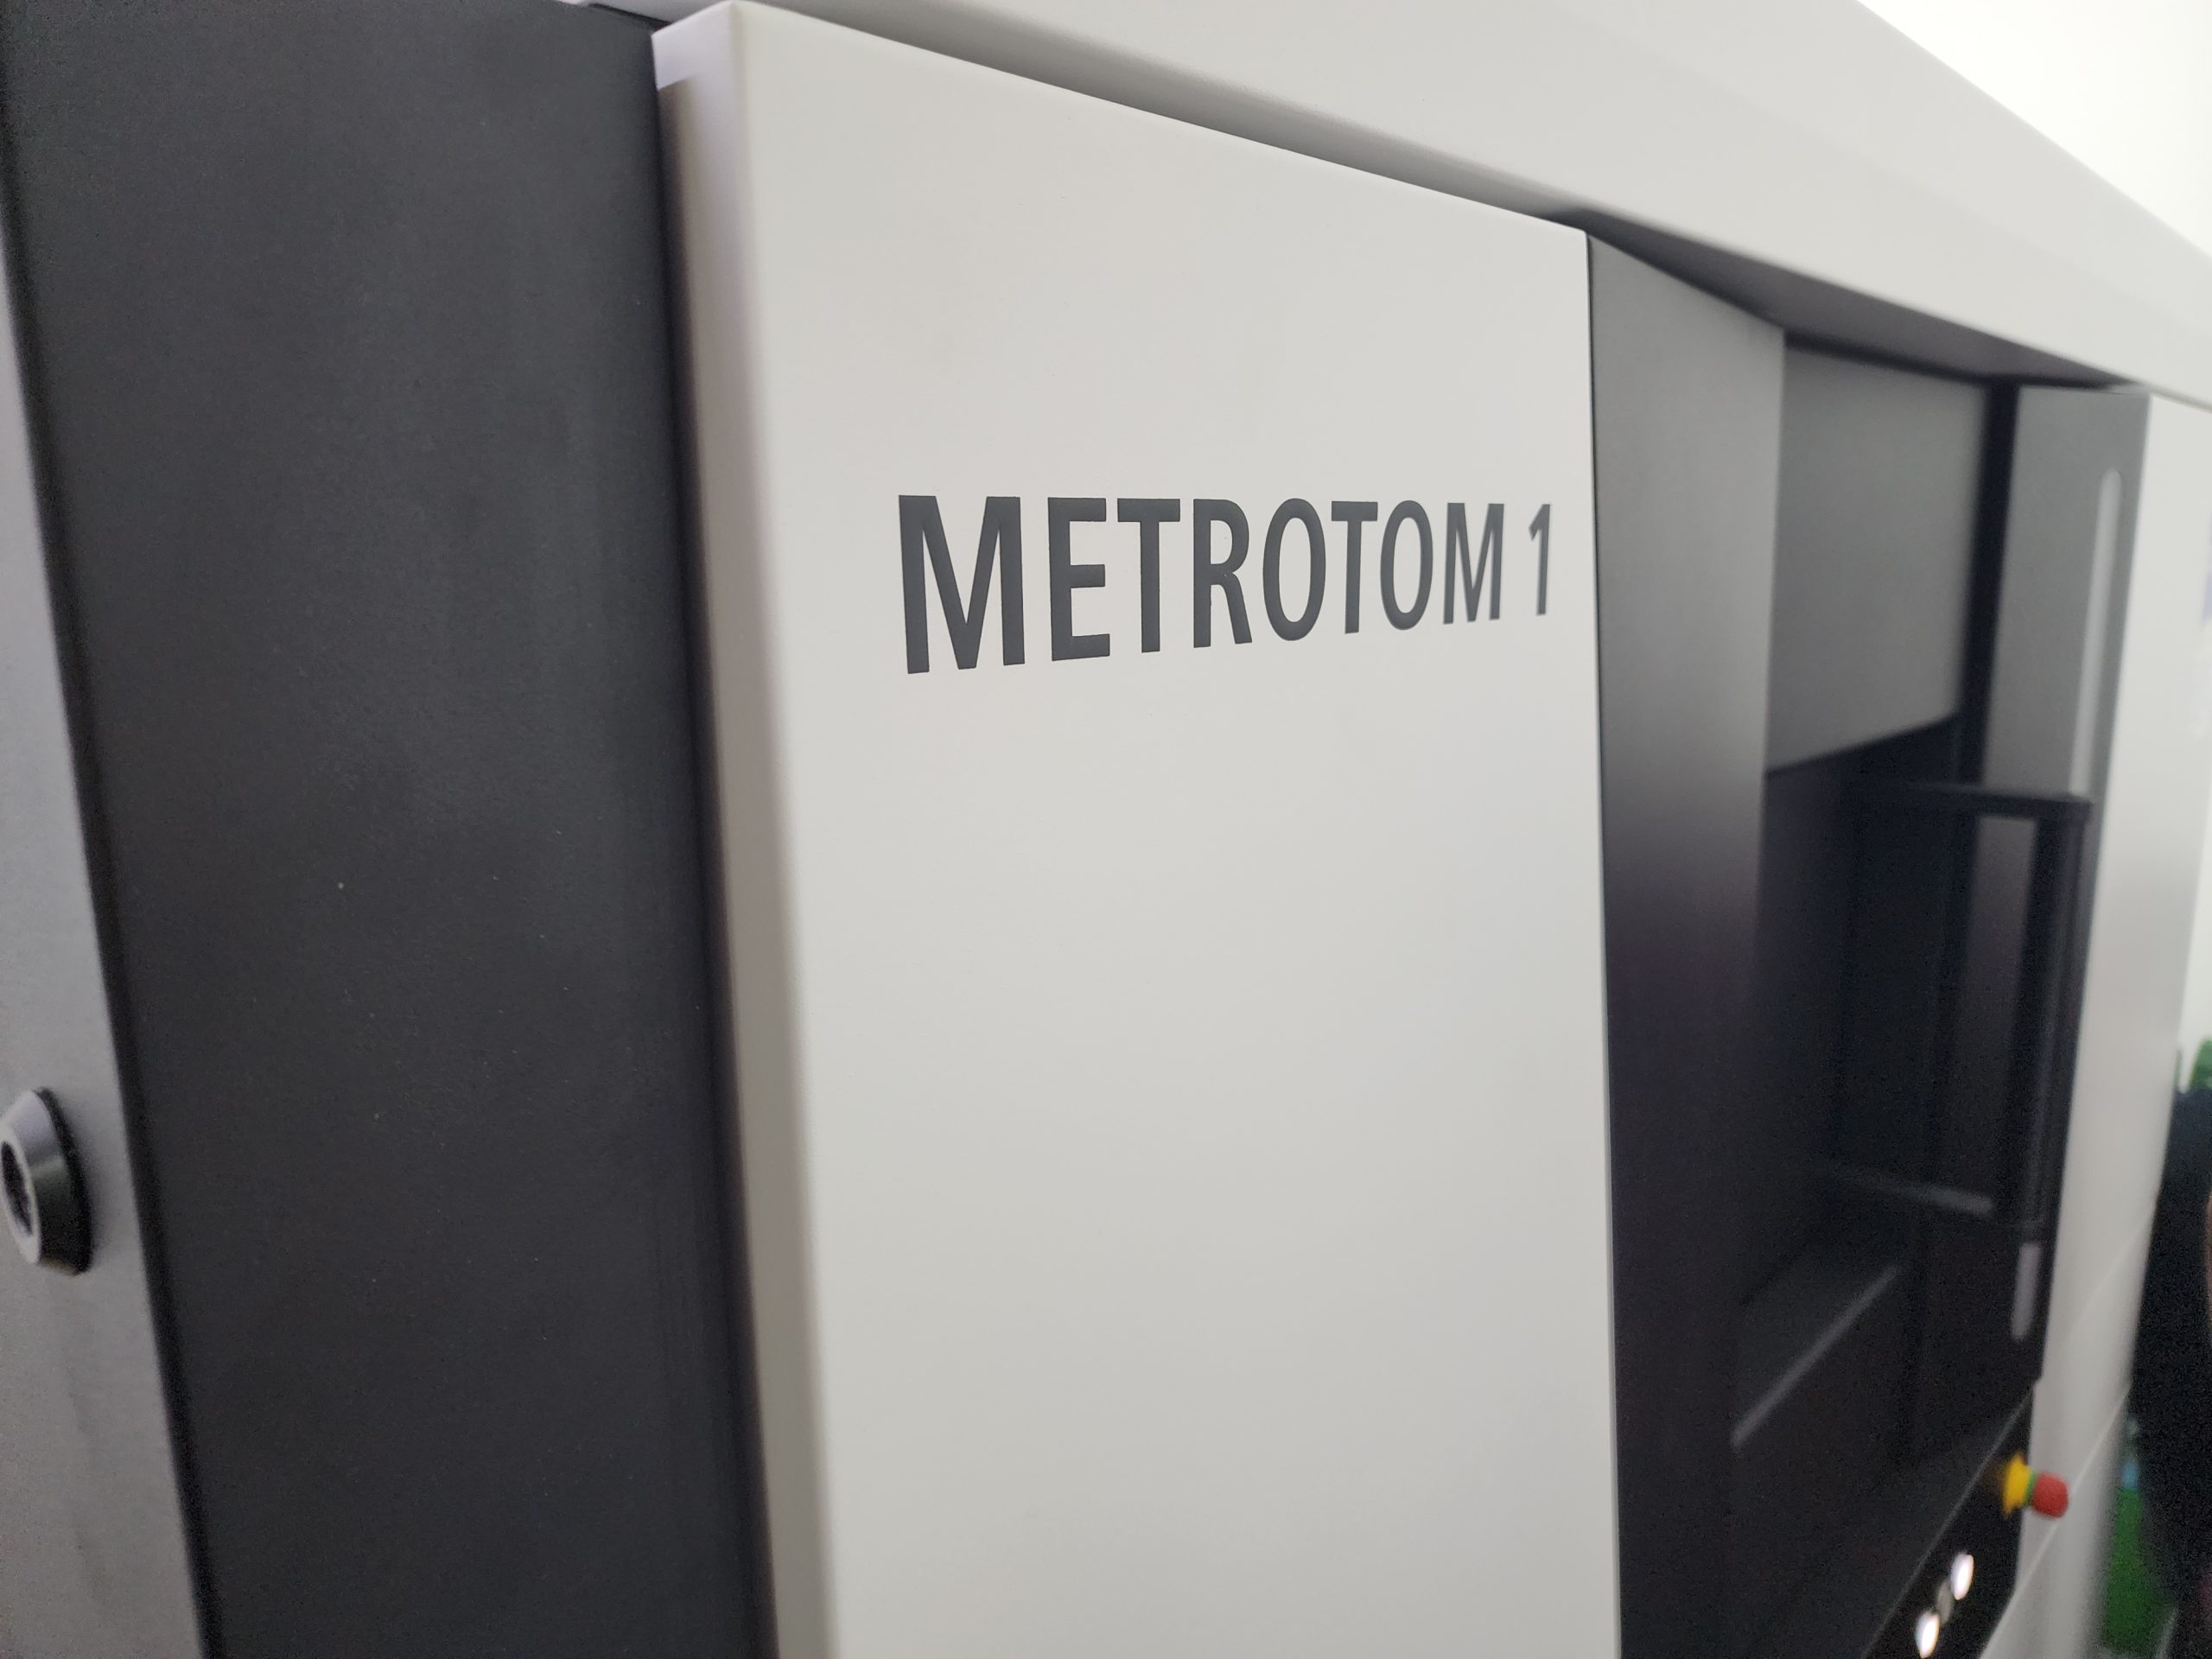
In the ever-evolving landscape of quality control and precision engineering, a our Zeiss Metrotom 1 stands out as a game-changer powered by cutting-edge computed tomography technology. This compact yet powerful 3D scanning solution offers unmatched ease of use and precision, enabling users to inspect internal structures and detect hidden defects with no part preparation required. CT-Scanning not only simplifies the measurement process but also enhances it, providing fast, accurate insights into the quality of components. Designed for entrepreneurs, startups, and product developers seeking innovation and reliability, this tool transforms the quality control process, making it an indispensable asset in any modern production environment.

Understanding CT-Scanning
Revolutionizing Quality Control
A CT-Scanner redefines quality control with its advanced capabilities. Traditional methods often require extensive part preparation and can miss hidden defects. In contrast, by using a CT-Scanner, you can perform precise, non-destructive scans. This allows users to inspect both the external and internal structures of components without any prior setup. The system’s compact design makes it suitable for various environments, and its integration with high-tech software streamlines the entire process. Users can achieve quick and accurate results, enabling them to make informed decisions faster. not only increases the efficiency of quality control processes but also enhances reliability and precision. By offering a comprehensive view of a component’s integrity, it supports industries that demand high standards in product development and manufacturing. This innovation makes it a vital tool for businesses looking to maintain a competitive edge.
Key Features and Benefits
One of its most significant advantages of using our CT-Scanning is the ability to perform non-destructive testing, capturing precise 3D data without the need for part preparation. This ensures that even the most intricate internal structures can be inspected accurately. The system’s compact design allows it to fit seamlessly into various production environments, making it highly versatile for different applications.
Advanced Scanning Capabilities
Non-Destructive Internal Inspection
As CT-Scanning is non-destructive in nature, it is a crucial capability for industries that require detailed analysis of complex components. Utilizing advanced computed tomography technology, a CT-Scanner can scan and visualize internal structures without any physical interference or damage to the part. This method allows for a comprehensive examination of parts, revealing defects such as porosity, cracks, or inclusions that traditional testing methods might overlook.
The ability to inspect multiple components simultaneously further enhances efficiency, providing rapid feedback and insight into the production process. By leveraging the ZEISS INSPECT software, users can easily visualize and assess the scanned data, facilitating quick identification and classification of defects. This enables industries to maintain rigorous quality standards, reduce wastage, and shorten the time from design to market. The non-destructive nature our scanning capability is a transformative feature that supports precise quality assurance and product reliability.
Versatility Across Industries
The ability to perform non-destructive testing and 3D scanning of small to medium-sized components makes it ideal for sectors such as aerospace, automotive, and consumer electronics. Our CT-Scanner can handle a variety of materials, from plastics to metals, accommodating the diverse needs of product developers and quality assurance teams.
In aerospace, it is used for inspecting complex components like connectors and plastic caps, ensuring they meet stringent safety and performance standards. In automotive manufacturing, it helps in analyzing the integrity of intricate parts, aiding in the reduction of defects and enhancing reliability. Consumer electronics benefit from its precision in measuring small parts, ensuring high-quality product assembly.
This broad applicability enhances operational flexibility and supports innovation, enabling companies to maintain competitive advantages by ensuring high standards of quality and precision in their production processes.
CAD-to-Part Comparisons
We can facilitate CAD-to-part comparisons, a crucial function for verifying the accuracy of manufactured components against their original designs. This capability is essential for ensuring that products meet design specifications and quality standards before they reach the market. By generating a precise 3D representation of the physical component, we can make comparison against CAD models to identify discrepancies such as deviations in dimensions, shapes, and geometries.
This process is particularly beneficial in industries like automotive and aerospace, where precision is non-negotiable. The software we use enhances this functionality by providing tools for aligning scanned data with CAD models, offering insights into areas that might require corrective actions. Through detailed visualizations and analysis, manufacturers can quickly address issues, reduce rework, and streamline their quality control processes.
Overall, the CAD-to-part comparison capability ensures that products are manufactured accurately and efficiently, fostering trust and reliability in end products.
